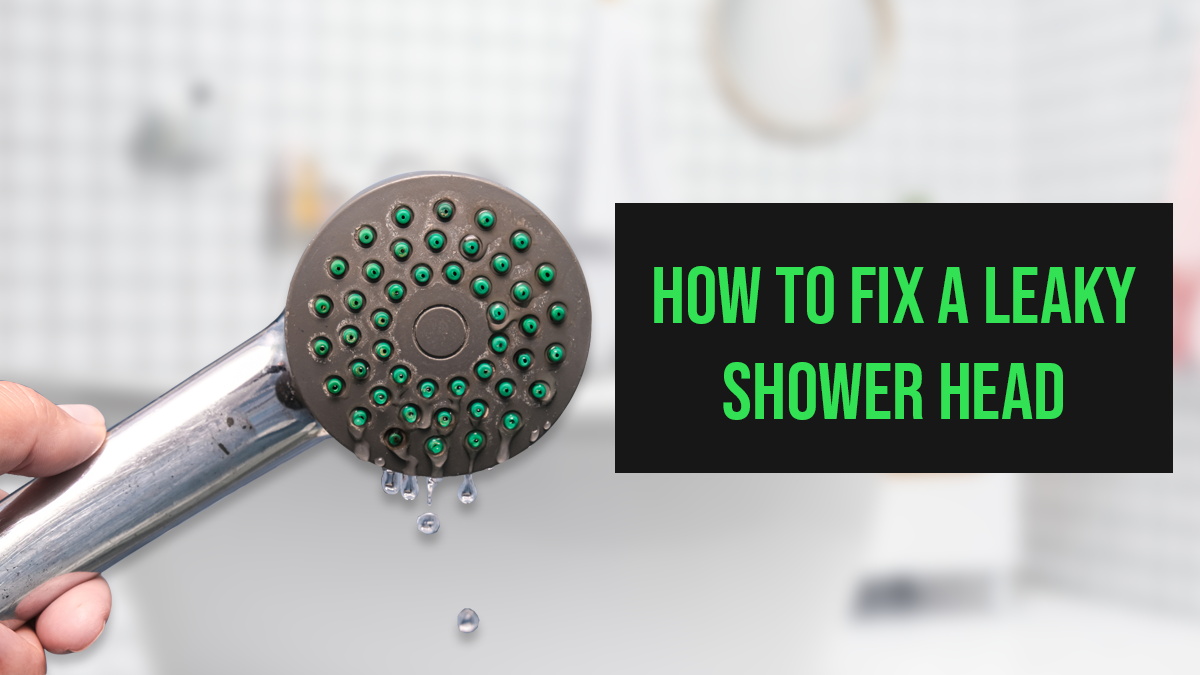
How to Fix a Leaky Shower Head
Are you tired of dealing with a leaky showerhead? Well, you’re in luck! We’ve some tips and tricks to help you keep your showers flowing freely. The first step is to remove the shower head and inspect it for any apparent damage or discoloration. This can be done by removing it from the wall, unscrewing the cap that holds it in place, and looking under it for any leaks. If none are found, we’ll move on to cleaning the inside of your new shower head so that no more water gets through!

Remove the shower plate and shower head
- Use a screwdriver to remove the shower plate, which is located on top of your shower head and can be accessed by removing two screws with a Phillips-head screwdriver.
- Remove any plumber’s tape or another waterproof sealer around where you plan on installing your new shower head by gently pulling it away from its position (be careful not to damage it while doing this).
- Pop out the old shower cartridge with your hand, if needed—it should come out quickly once you start squeezing inward at one end first before pulling downward as far as possible using both hands simultaneously until all of it has been removed from inside each side of tube housing enclosure area where water comes through when turned on after being turned off using lever knob located above handlebars right next door at top front edge closest towards the rear wall behind wall paneling interior casing where the tub meets exterior perimeter wall outside boundary lines (in other words: “wherever”).

Cleaning the inside of the shower head.
Cleaning should always be done on anything. Showerheads must be cleaned in order for it to pour clean water. Here are some ways how you can easily clean your showerheads at home:
- Use a toothbrush or small brush to clean the inside of your shower head. A toothbrush removes any large particles that may be stuck there, while a small meeting is great for getting into smaller spaces and around the edges where water can’t reach.
- Use a cotton swab to clean the inside of your shower head again if necessary (and if you have time). You might also want to use one after using soap to remove any leftover soap residue on its surface—this will help prevent mold from growing on it later on down the line!

Removing old Teflon tape from the threads.
To remove the tape, you’ll need to use something other than a razor blade. If you have any of these tools lying around your house, give them a try:
- Screwdriver
- Wrench (a large one with a pipe wrench on end)
- Pliers
Having such tools will make fixing a lot easier and faster for you. If you don’t have these basic tools I suggest you go to your favorite shop and buy one.

Applying new Teflon tape
The next step is to apply new Teflon tape to the threads in a clockwise direction. This will help seal them, but you don’t want to over-tighten them. You should ensure at least one turn of tape on each thread before tightening things down.
Once you’ve applied new Teflon tape and tightened it down, test your shower head again for leaks and replace any additional parts if necessary!

Replace the shower plate and shower head
If you leak your shower head, it’s time to fix it. You’ll need to remove the old shower head and add a new one. It should come with instructions for how to do so, but here are some general tips:
- Be sure that there is a good seal between the wall and the water supply valve on top of your faucet by replacing any knobs or handles that may be loose (or just tightening them).
- Check for leaks around diverter valves—these allow water from different sources into one pipe. A small amount of leakage can indicate problems elsewhere in your plumbing system; if so, replace these parts as well as possible before continuing with repairs on other parts of this system. Tighten all connections, so they’re firmly seated without leaking more than usual during use.Replace any parts damaged during installation (such as ball joints)

Be sure you have a good seal
To be sure you have a good seal between the shower head and the wall, use the plumber’s tape to create a watertight seal around both pieces. This will prevent leaks or drips in case your shower head was damaged by water through regular use or something like that.

Check the diverter valve.
The diverter valve is the device that directs water flow. If it is not working, you will get a leaky shower head. Look for the diverter valve under your shower head and check if it leaks. If so, replace it with a new one from your local hardware store or online retailer.

Worry Less For The Leaks
You’ve probably been thinking about how to fix a leaking showerhead for quite some time. The good news is that it’s not as difficult or expensive as most people think.Fixing a leaky shower head can be done easily by homeowners with some basic plumbing knowledge and tools. However, if the issue persists or requires more complicated repairs, it’s best to seek professional plumbing services.
A leaking shower head can waste a significant amount of water, increase water bills, and cause damage to the plumbing system over time. Therefore, it’s crucial to address the problem as soon as possible. By following the steps mentioned earlier, one can quickly and affordably fix a leaky showerhead. For more complex repairs or if one is uncomfortable with handling the repair, it’s best to call in professional plumbing services to avoid further damage or safety hazards. Regular maintenance and prompt repairs are essential to prevent leaks and save water, which benefits both the homeowner and the environment.